
 |
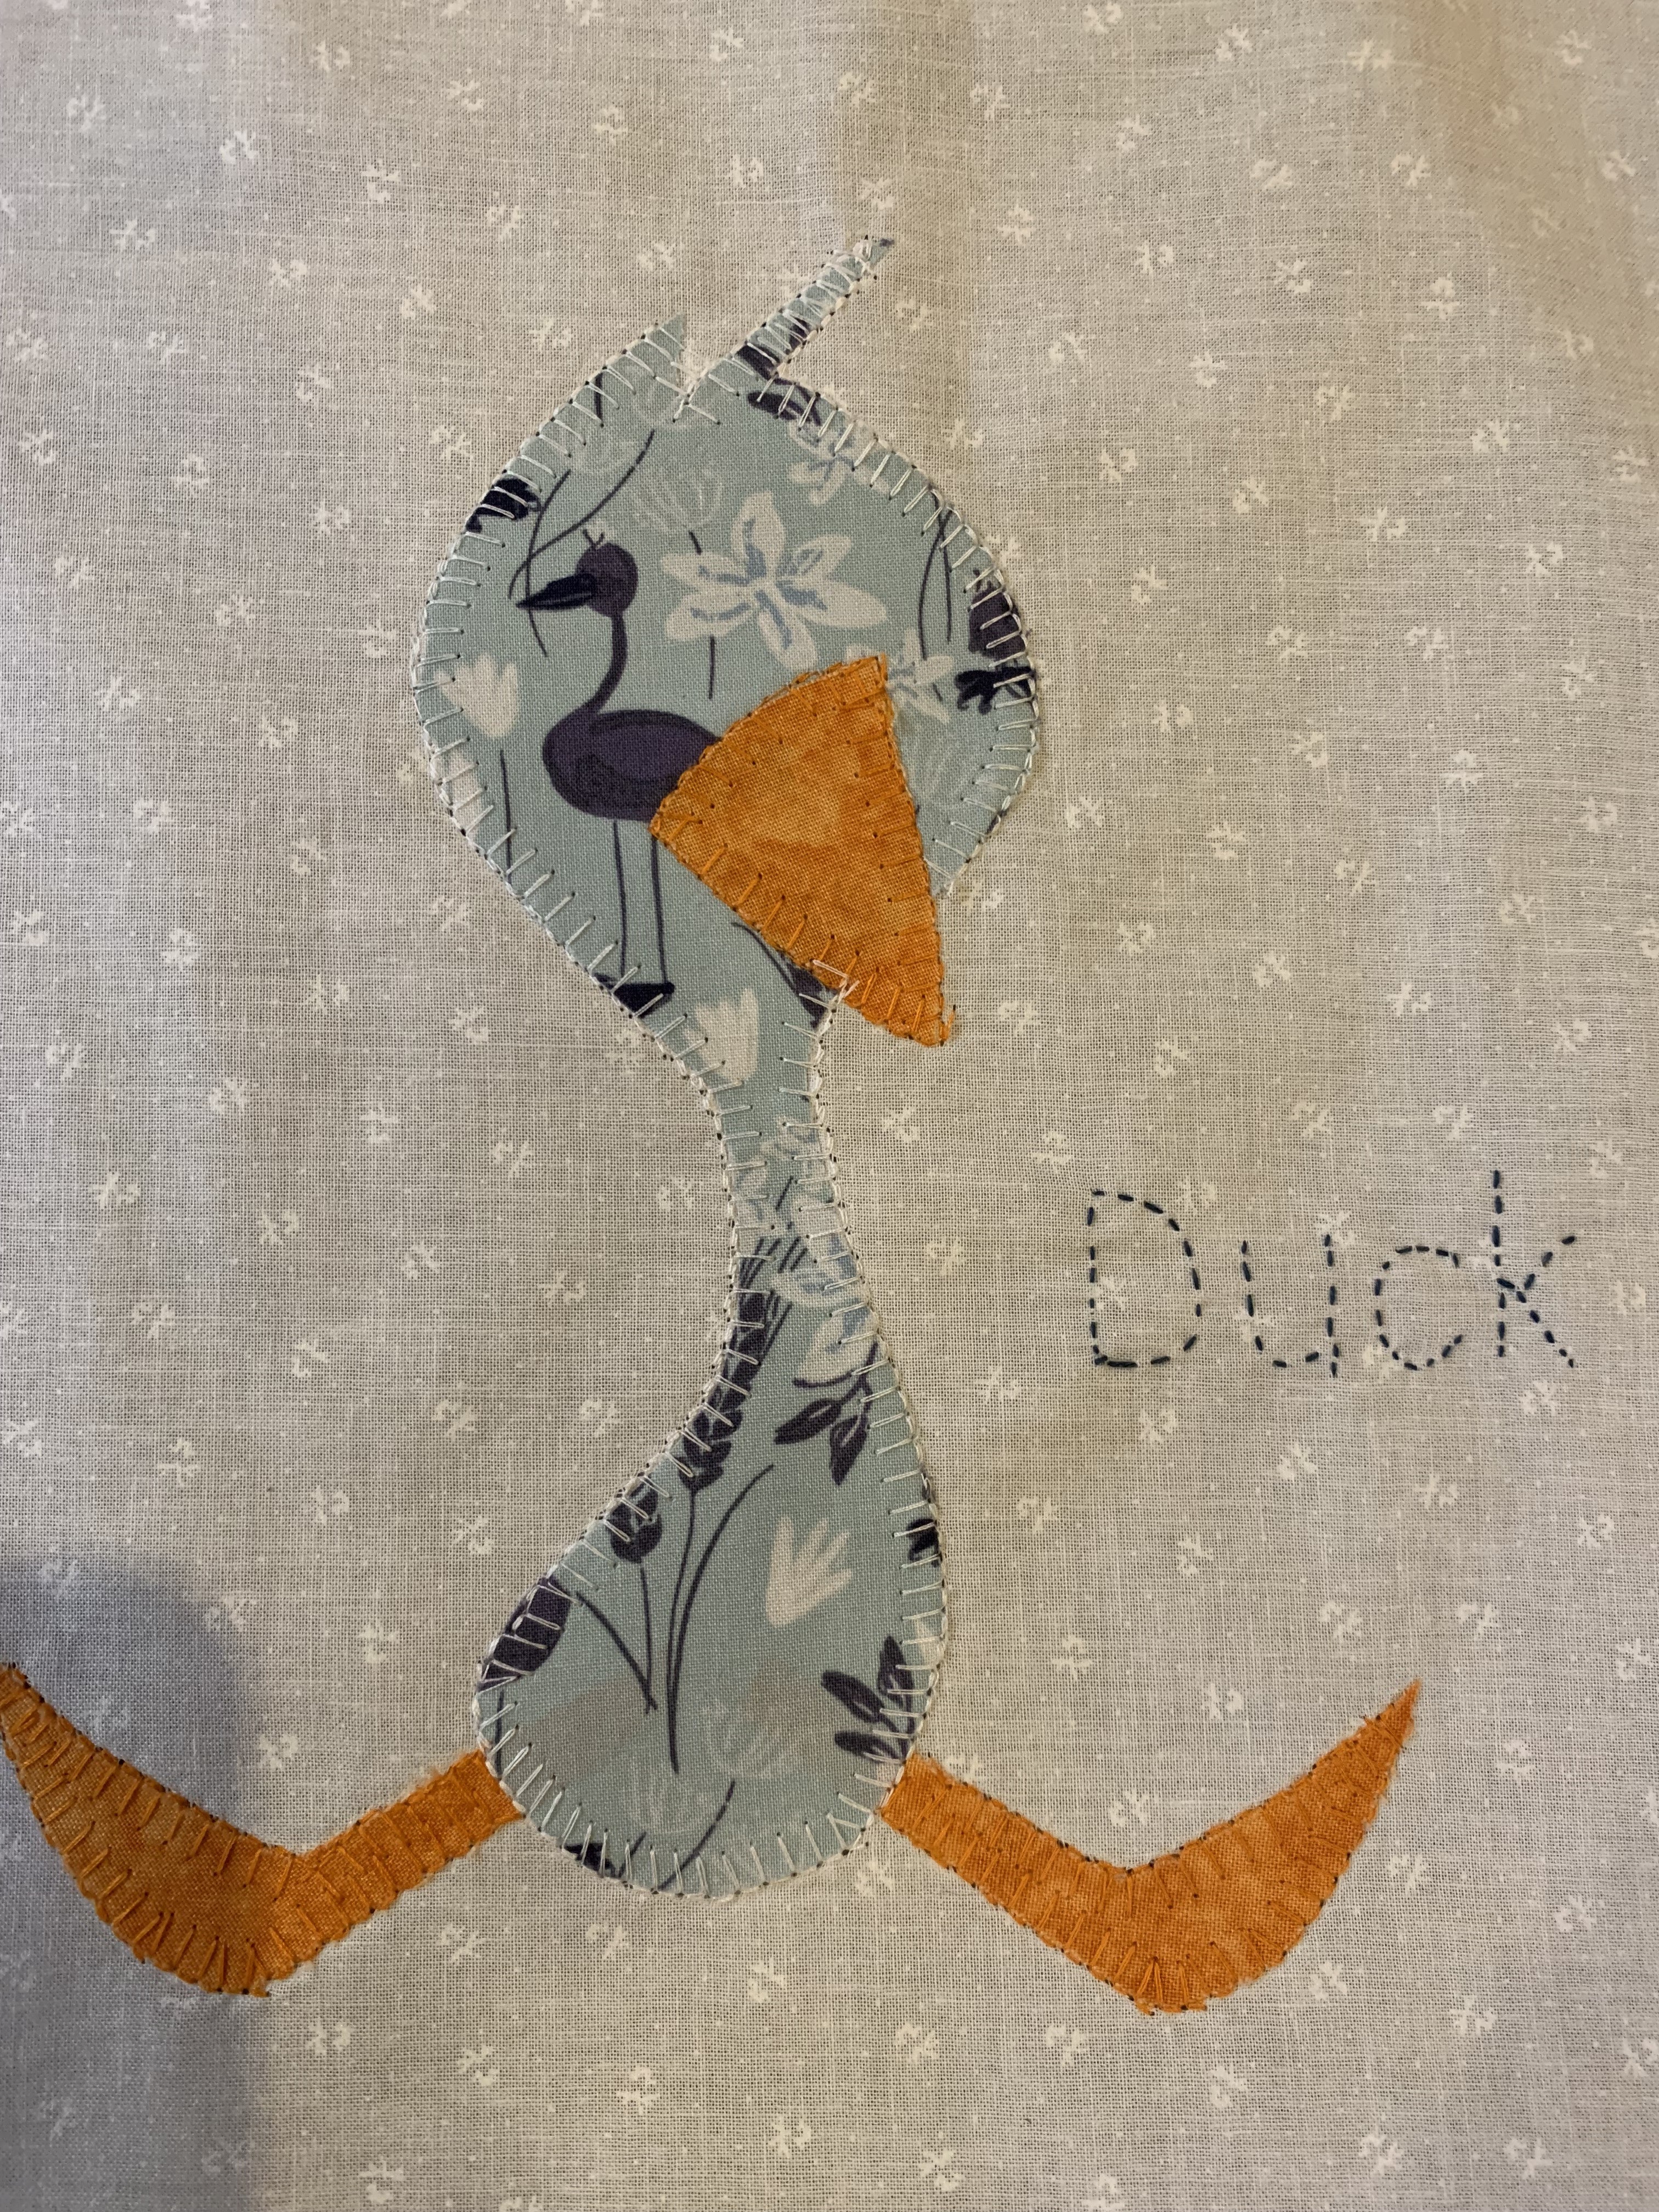
| First Applique Ever |
 |
| The finished Block |
Now while this is super fun to work on, although the mini blocks are a bit of a pain to cut out...I started looking into more styles of applique, particularly scenes or pictures. I came across a video on Laundry Basket Quilts YouTube channel all about raw edge applique, and I knew I had hit pay dirt! Click this LINK to see what I am talking about.
So I immediately purchased the book Seasonal Silhouettes off Amazon ....ordered Splash Batik fabric from the Fat Quarter Shop, and got started.


I decided to do the July wall hanging first, and googled a Canadian Flag as the book only has the US flag. For those not aware, July 1 is Canada Day. Next I placed the heat and bond over the page and traced the silhouettes using a pencil.

Once all the parts were traced and heat and bond trimmed down, I selected the colours of fabric I wanted. Placed the heat and bond on the WRONG side of the fabric and pressed. Just 1-2 minutes.

Next, I made a cuppa tea and sat down to watch a bit of telly while I cut out the silhouettes. I love cutting stuff out, don't you? Reminds me of when I was a kid and played with cut out dolls.


And here is the finished piece....not bad for my first attempt. Next I have to add borders, and then baste together with the batting and backing piece. At this point I will be ready to do the raw applique, which is a straight stitch all around each piece about a 1/4" inside. Once that's complete....I will show you.
Better yet, check out my latest Tobyknits Quilty Fun video on Youtube for a close up look.
Let me know what you think of this super cool applique style. Comment below, I would love to hear from you.
Until next time, craft on.
No comments:
Post a Comment